

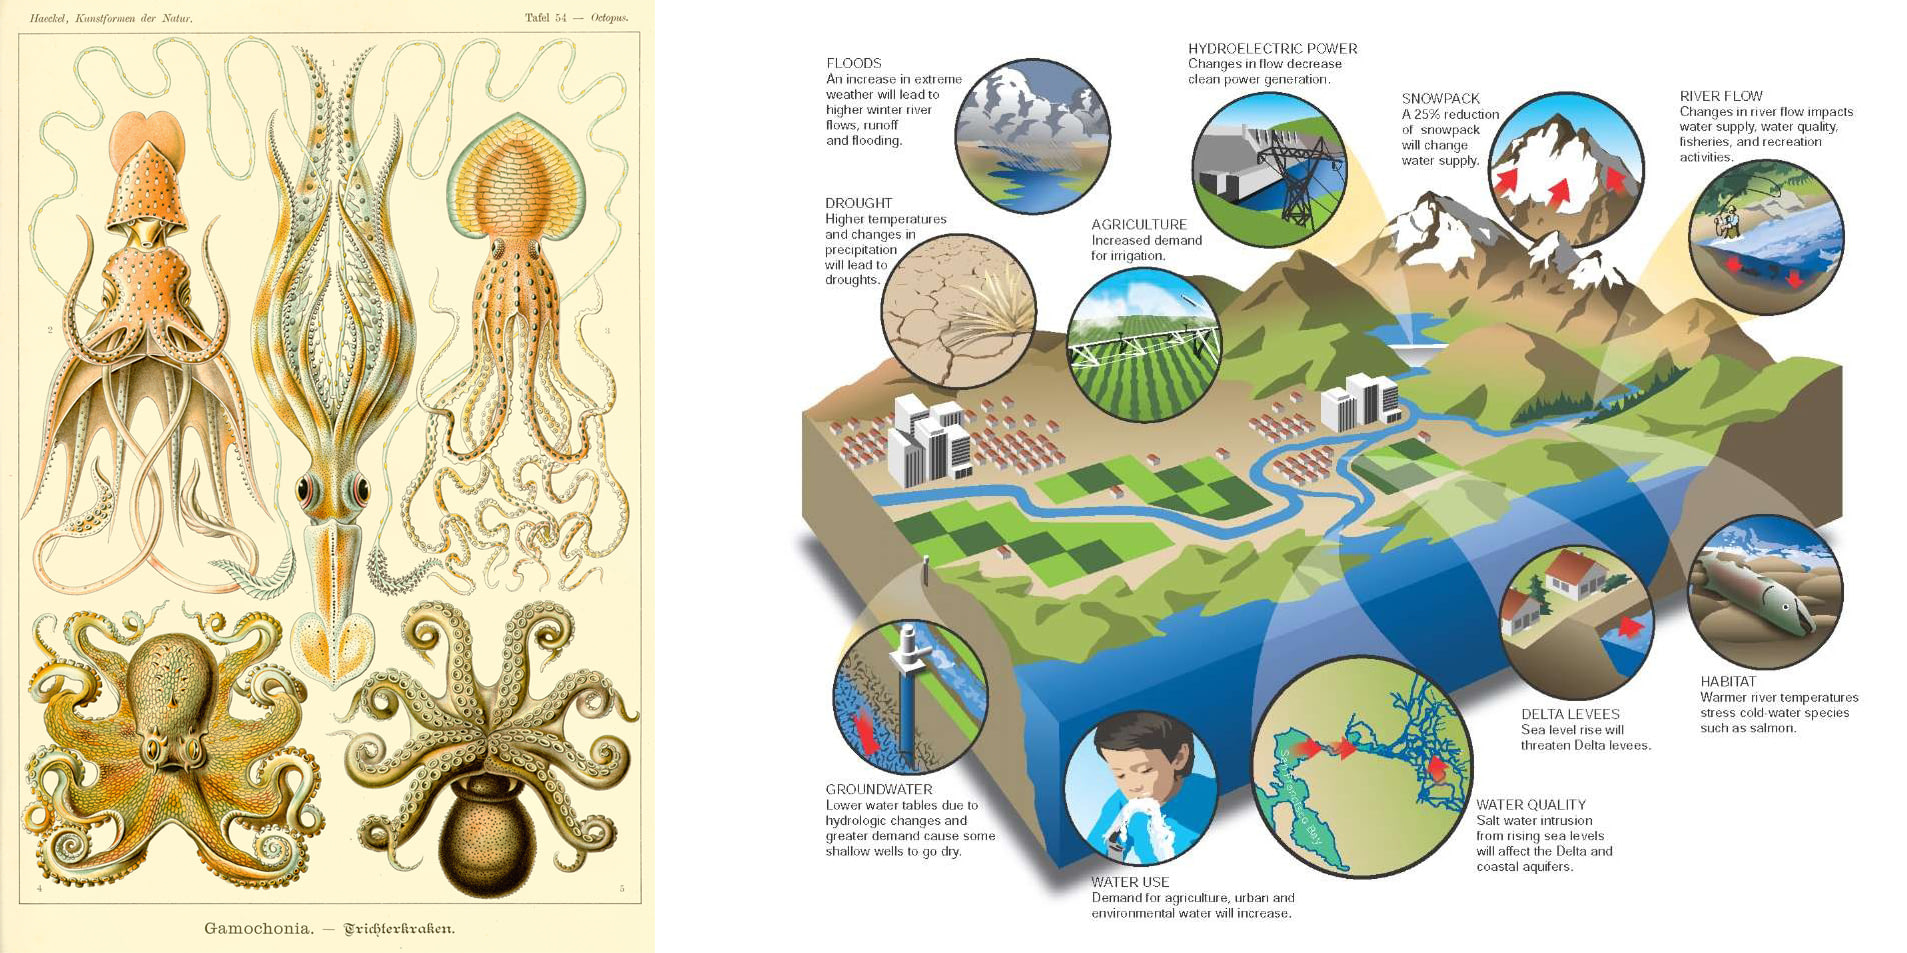
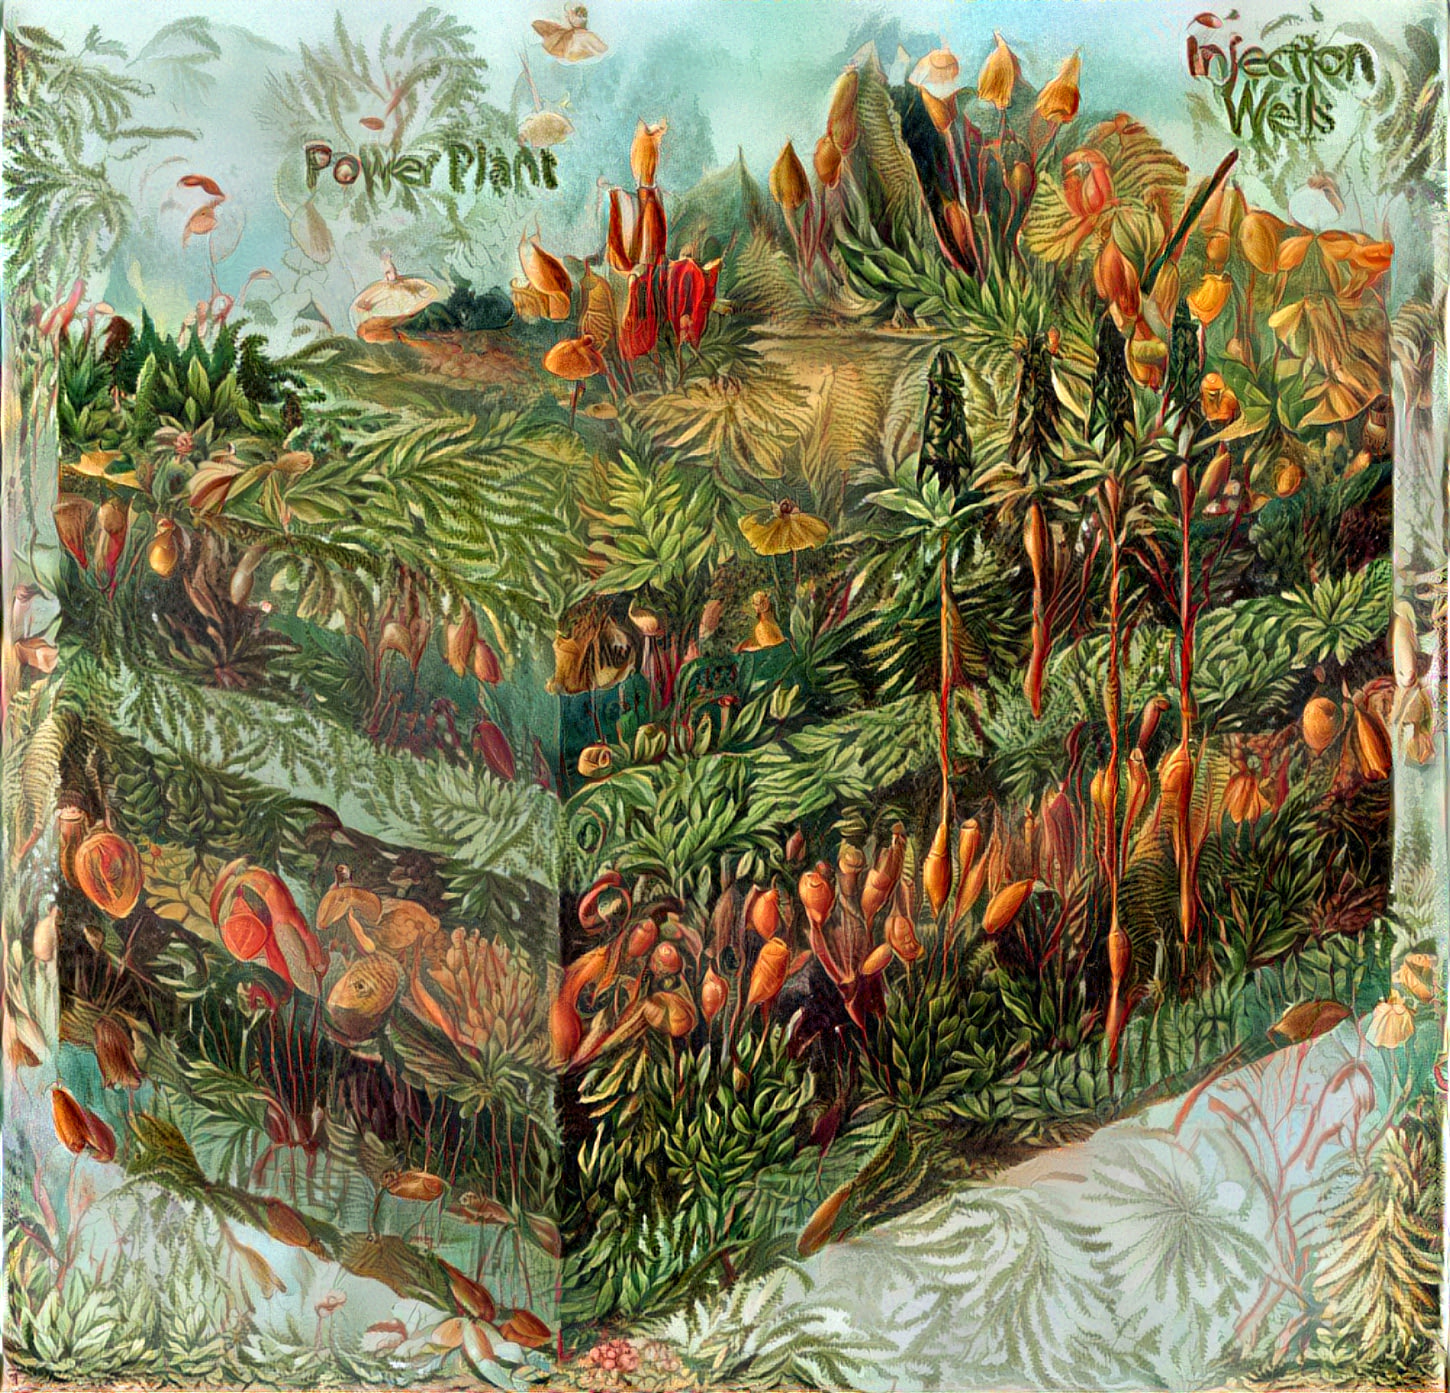
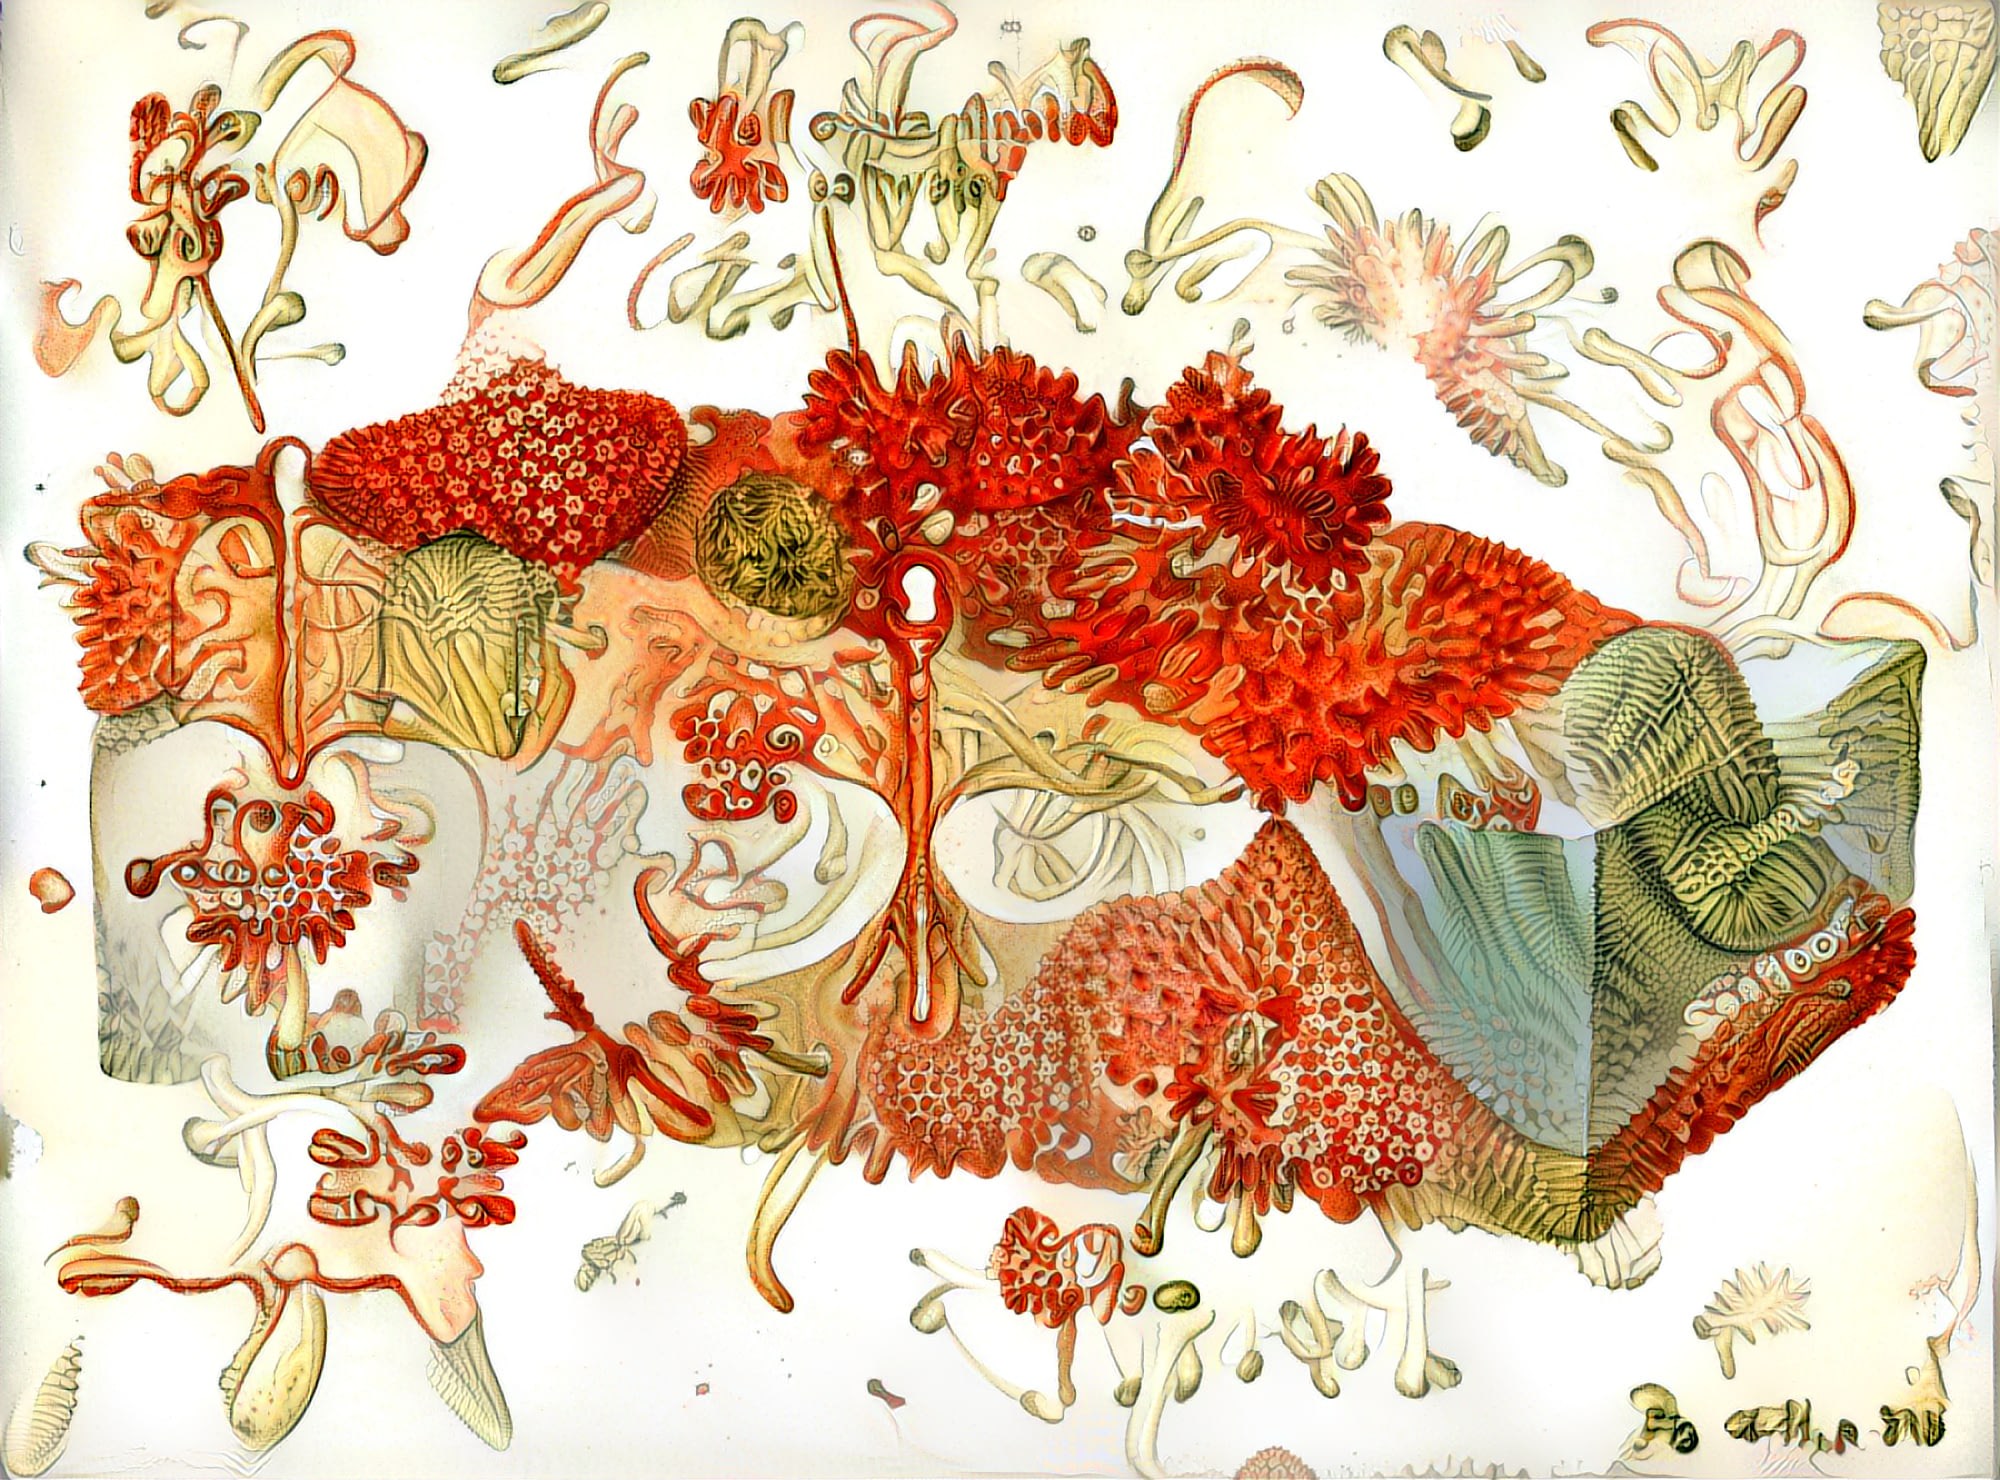
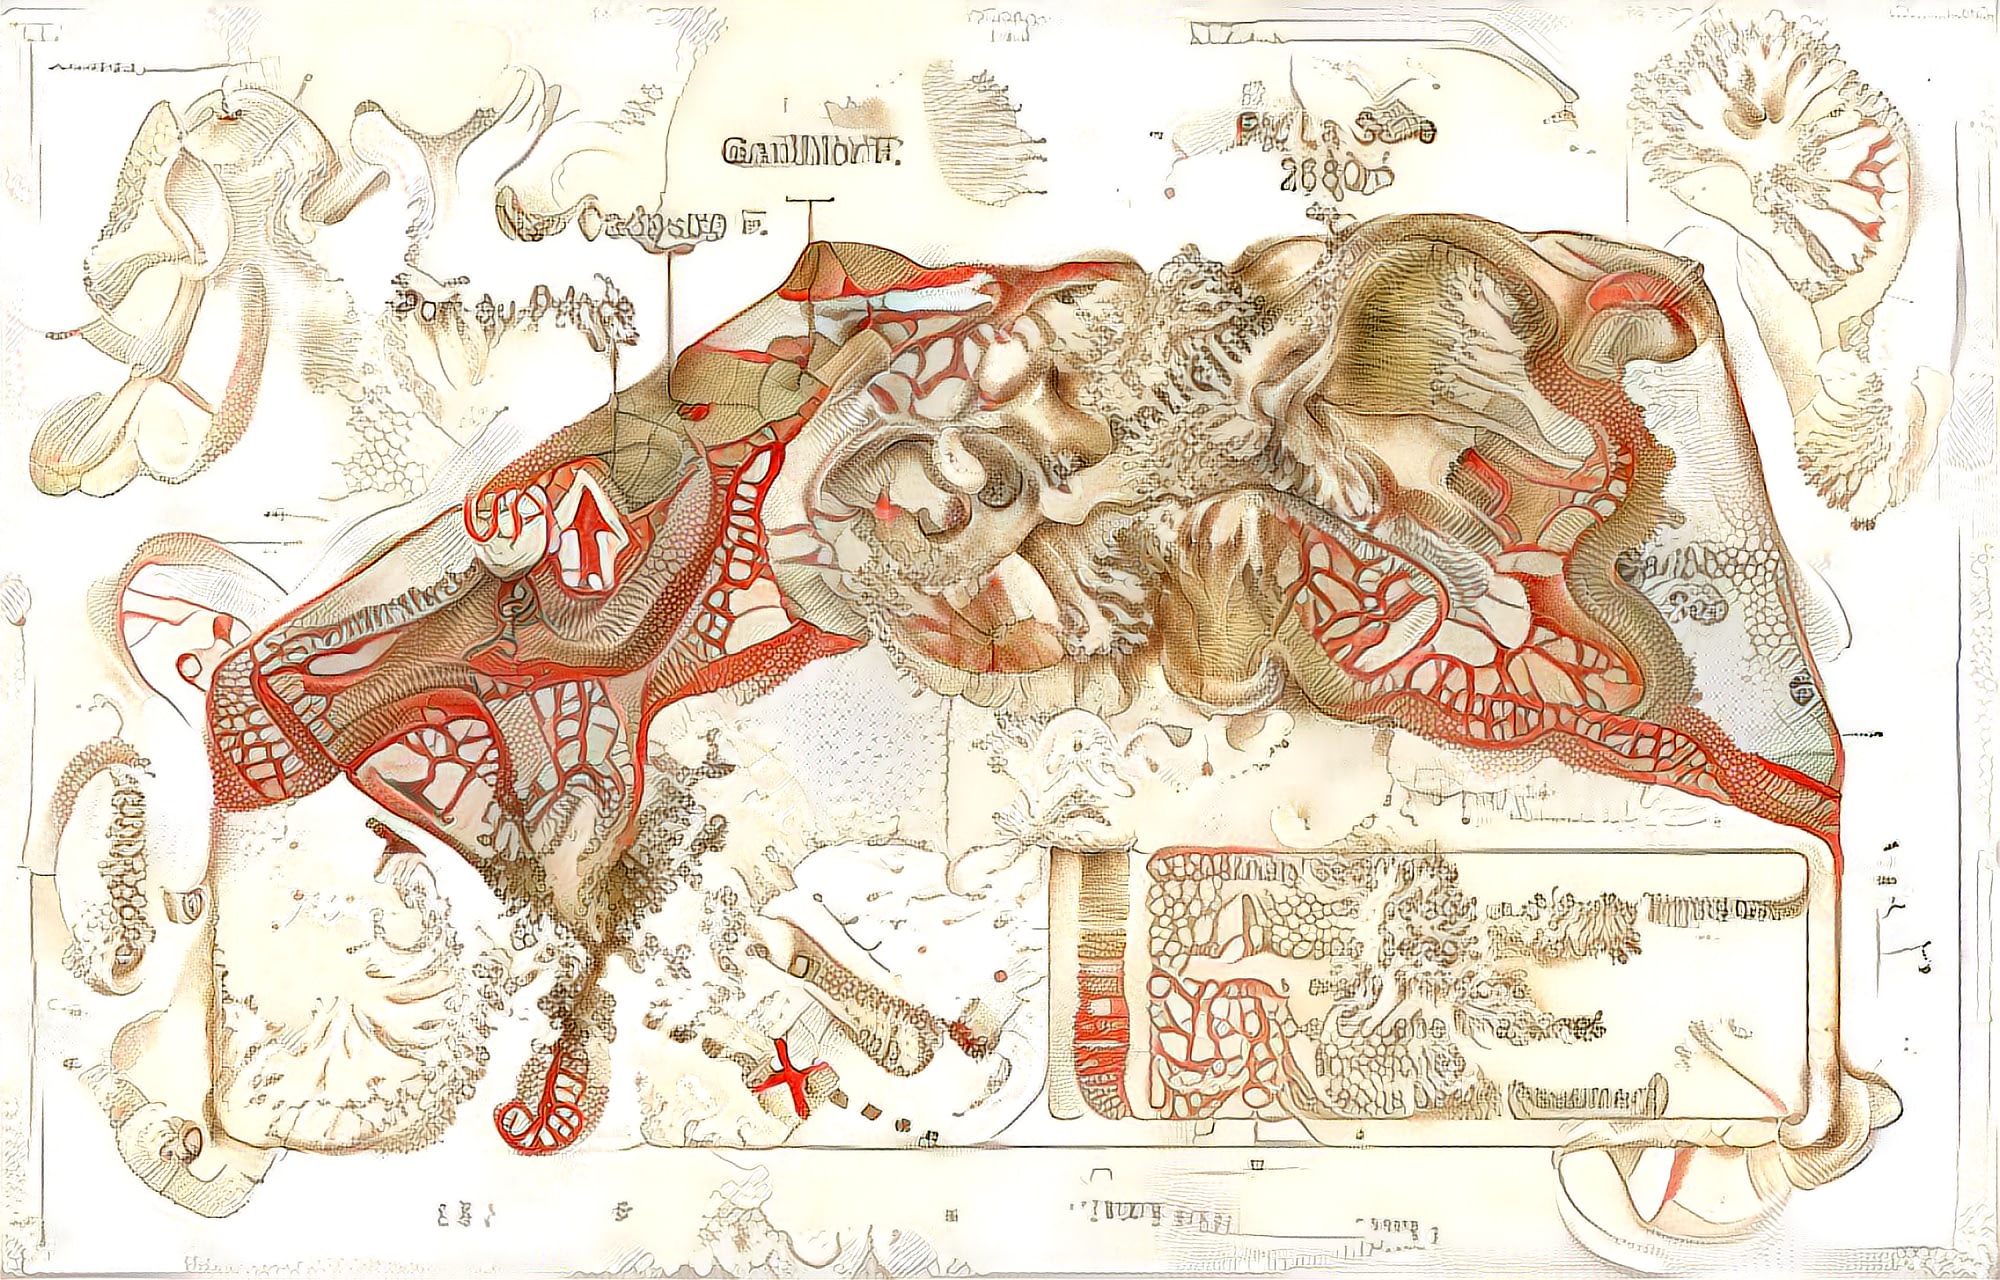
I was doing some research for the upcoming exhibition of Bruno Latour and looked into the question of tone in scientific communication, specifically the stylistic influence of visual representations of knowledge. Obviously the style changed over time, became more abstract, less naturalistic, less.. certain. As if the scientists became troubled by the idea of adding some character to the visual language. One particularly popular type of illustration in geosciences is the block diagram. While visually appealing, it often lacks any kind of a sensible way to embed processes that happen outside of the cut out piece of earth - the circulation of water, the circulation of life forms, human influence, changes over time - all that has to be added in some stupid way, with arrows and explanations.
Instead, I looked for ways to bring some of the old, more subjective ways to scientific illustrations. Add a few too many details. Make it alive, permeable for living creatures.
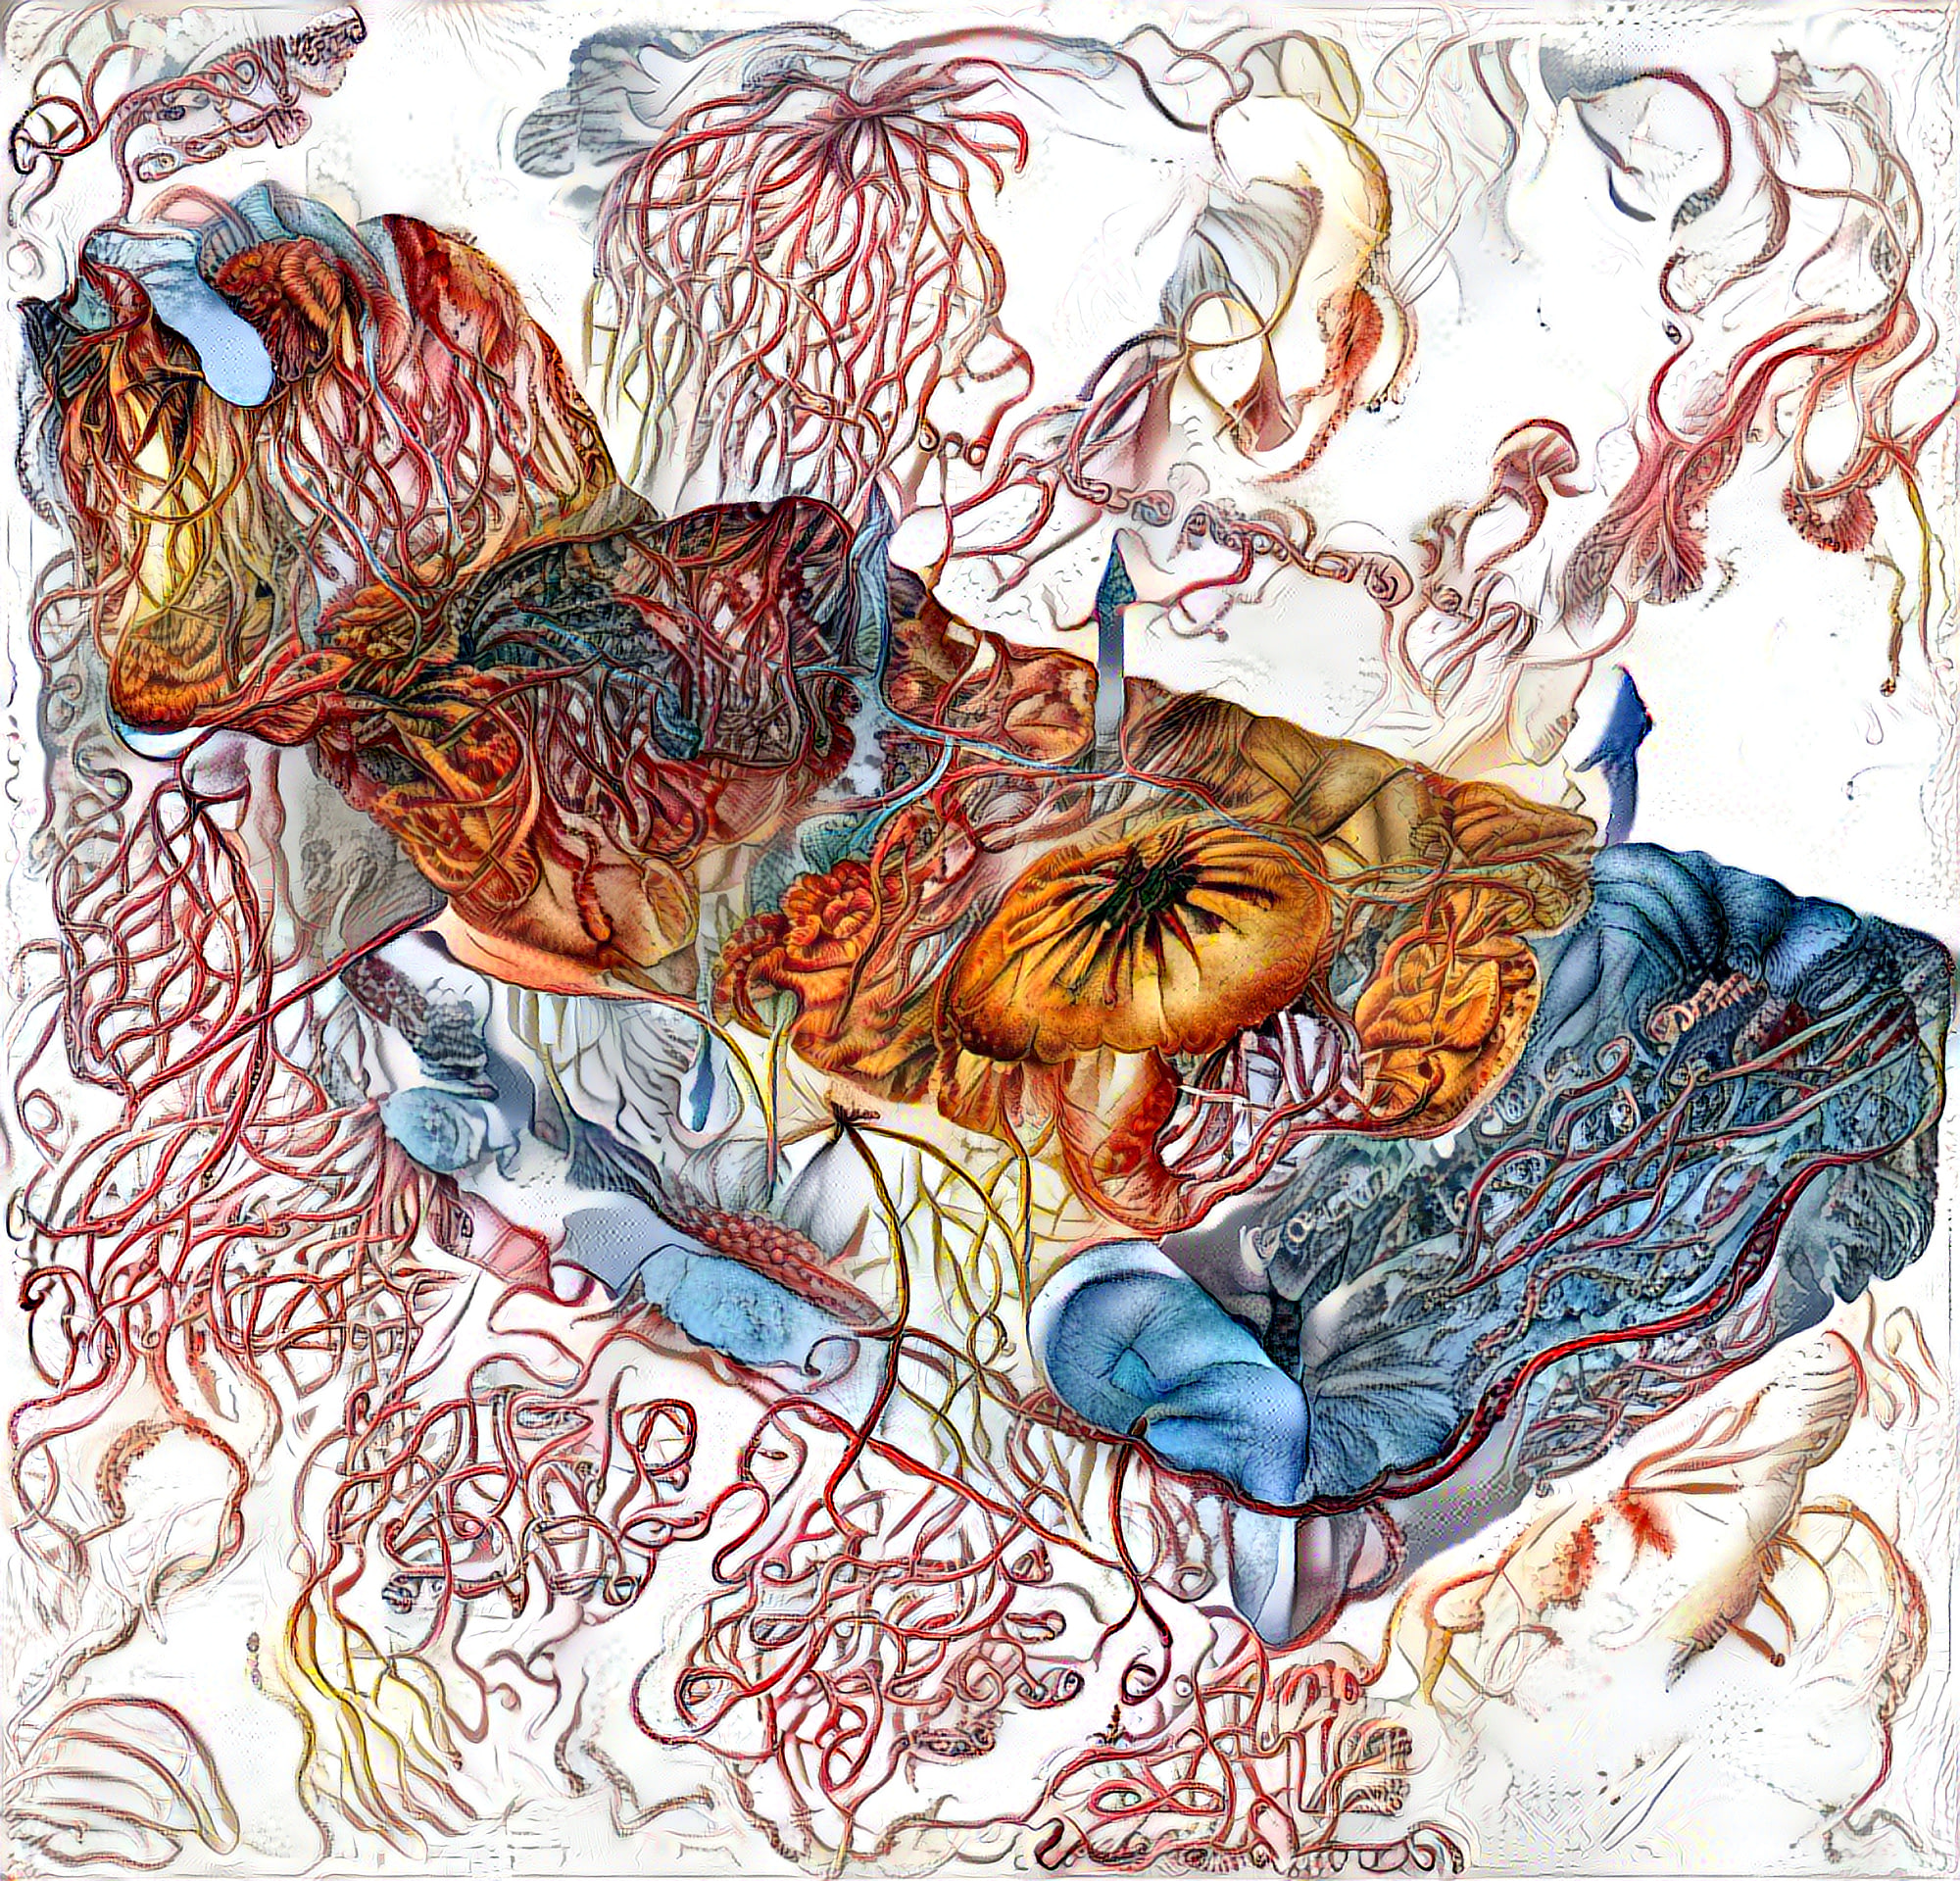
I took some illustrations by the 19th century German zoologist, philosopher and illustrator Ernst Haeckel, and used them as style for a neural style transfer algorithm.
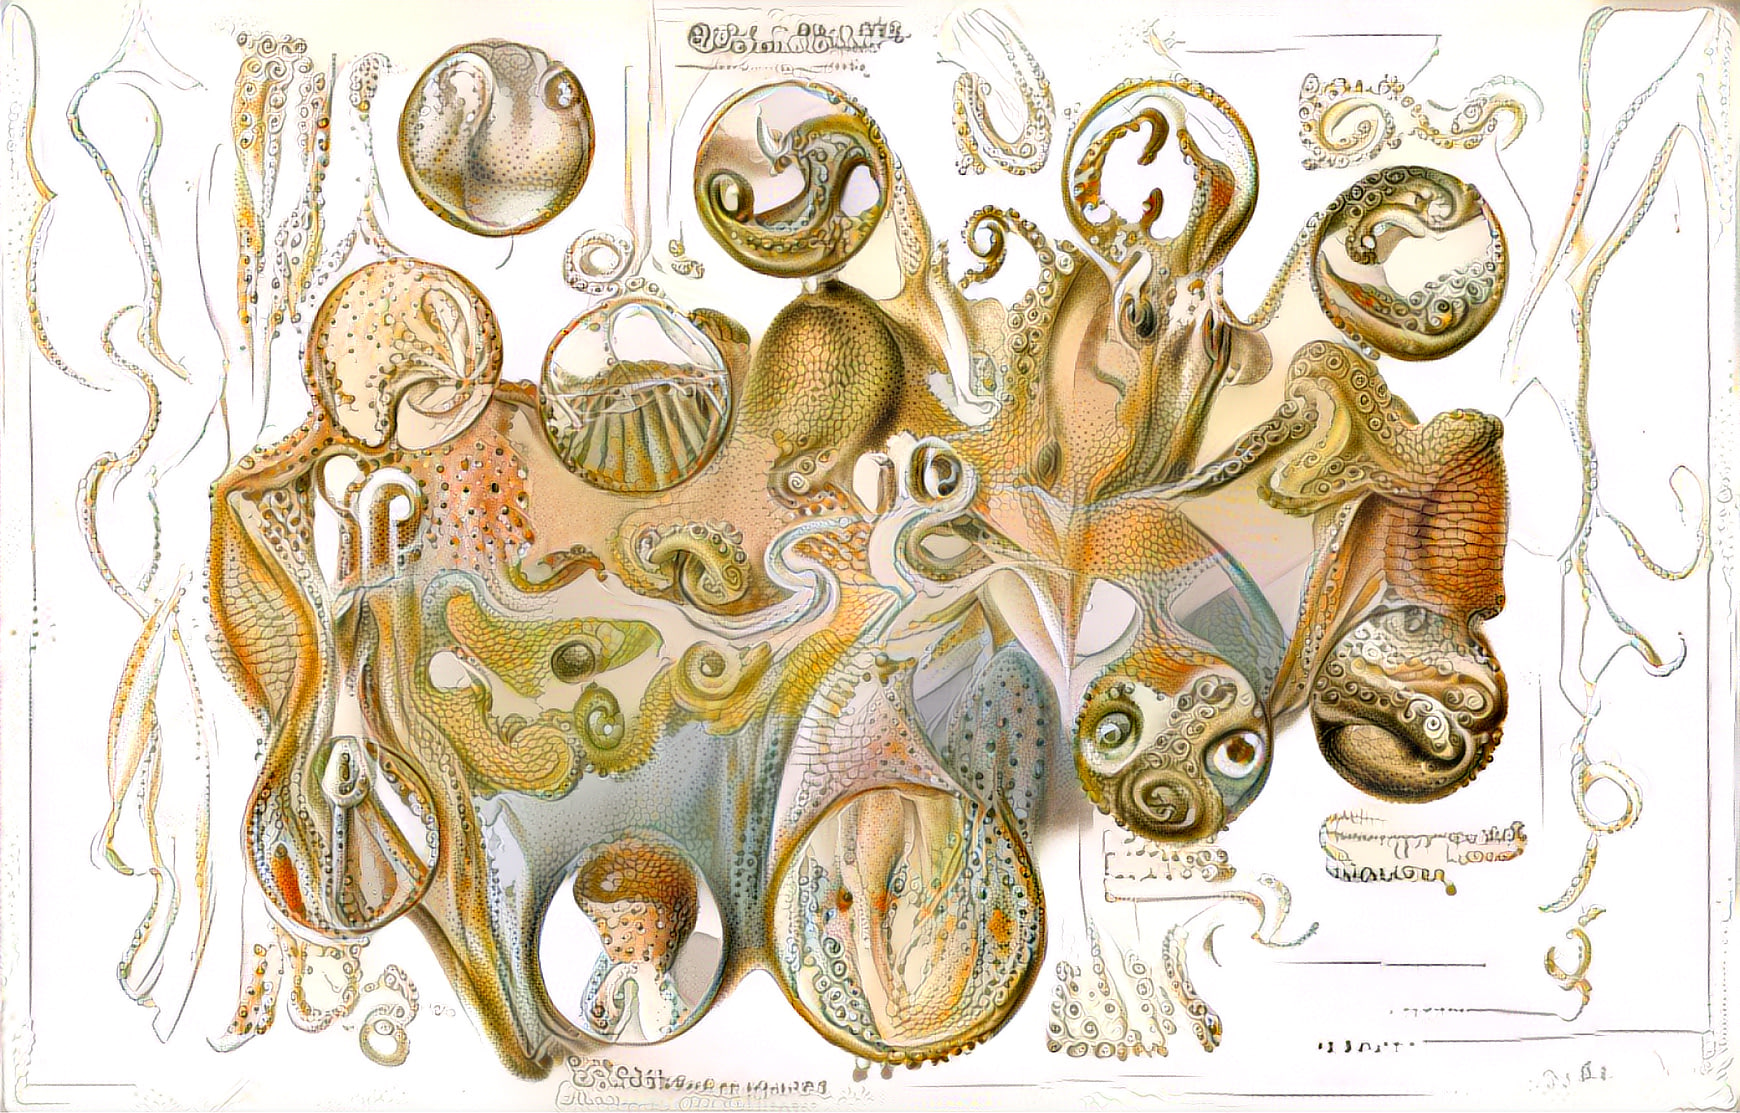
We are conditioned to look for meaning in scientific illustrations. While the meaning is lost through the process of neural style transfer, the illustration gains a lot of visual complexity. As viewers we may sense a deep cross-interlocking between the animal and its environment, but we do not get the chance to actually understand the specifics of their relationships.
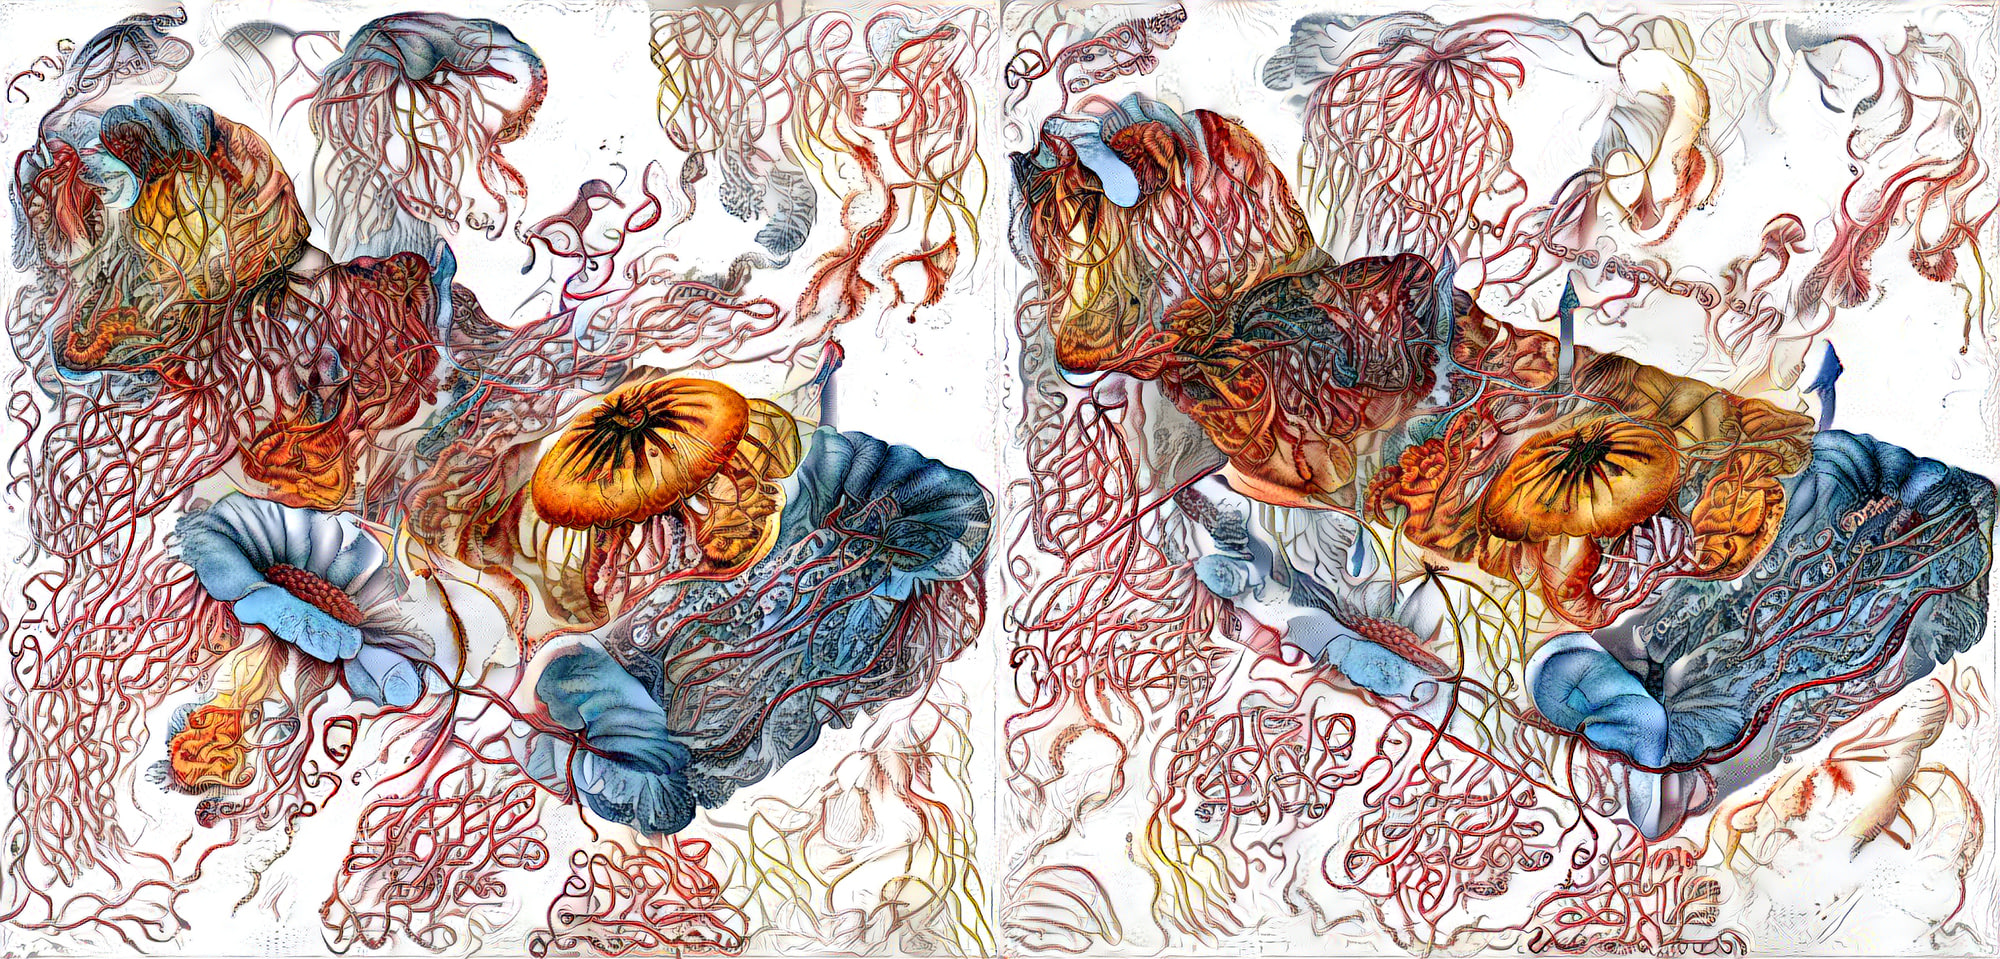
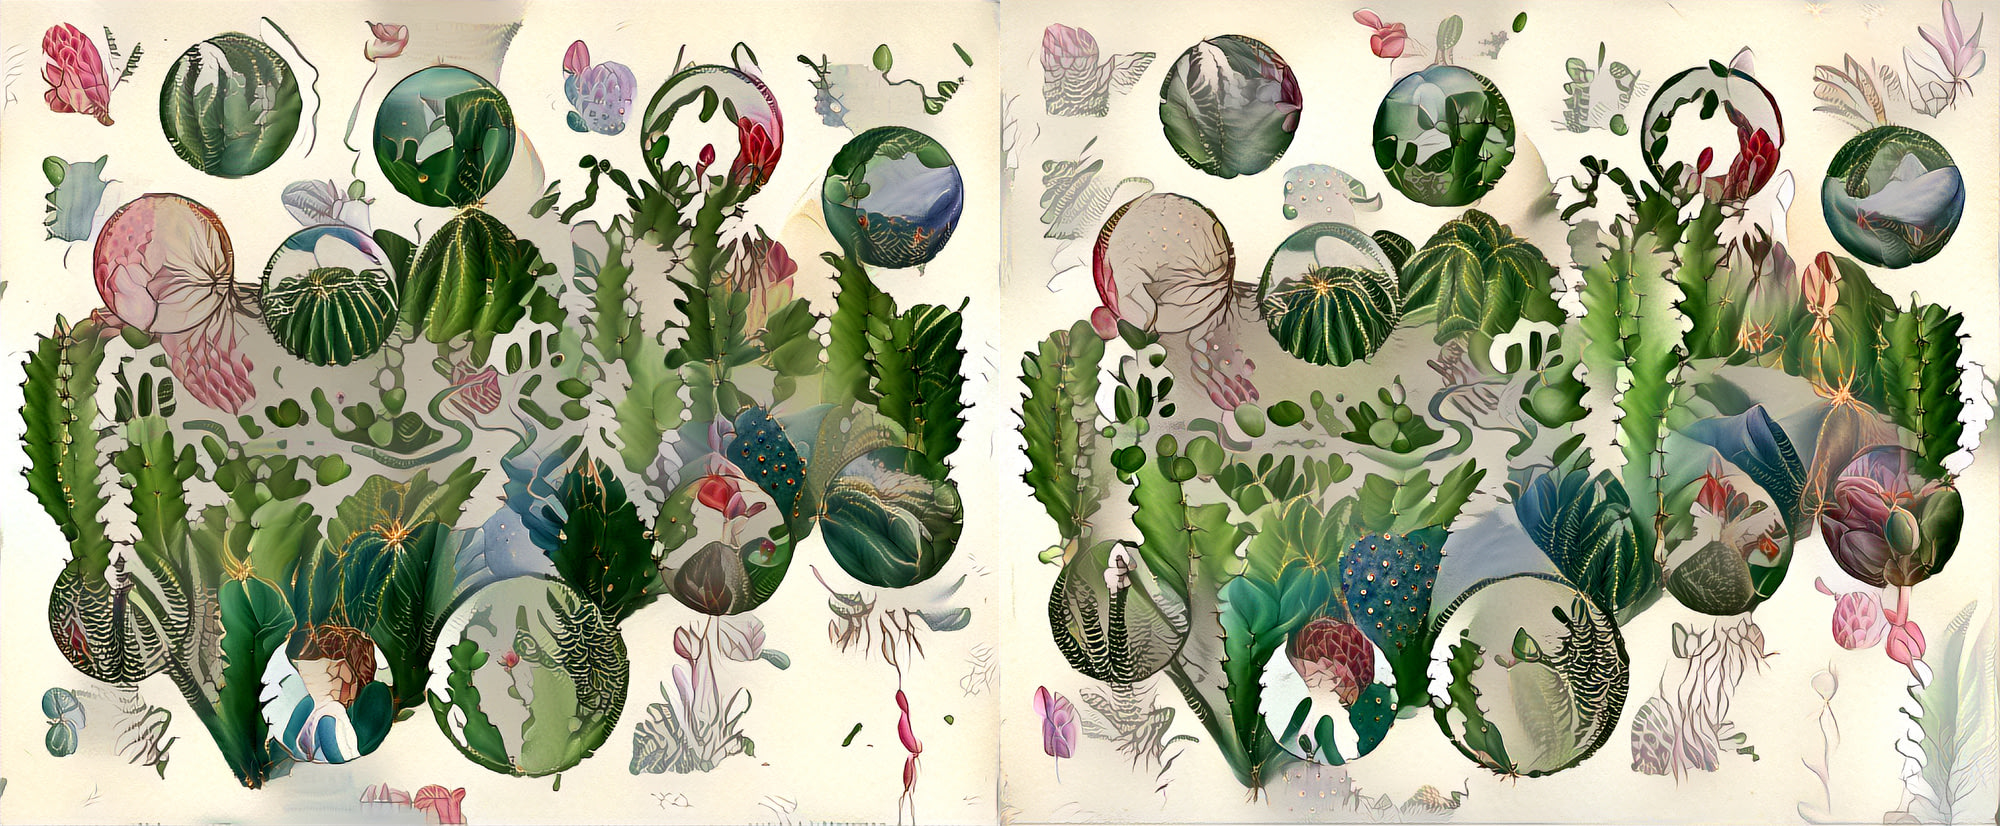
Here are a few more:
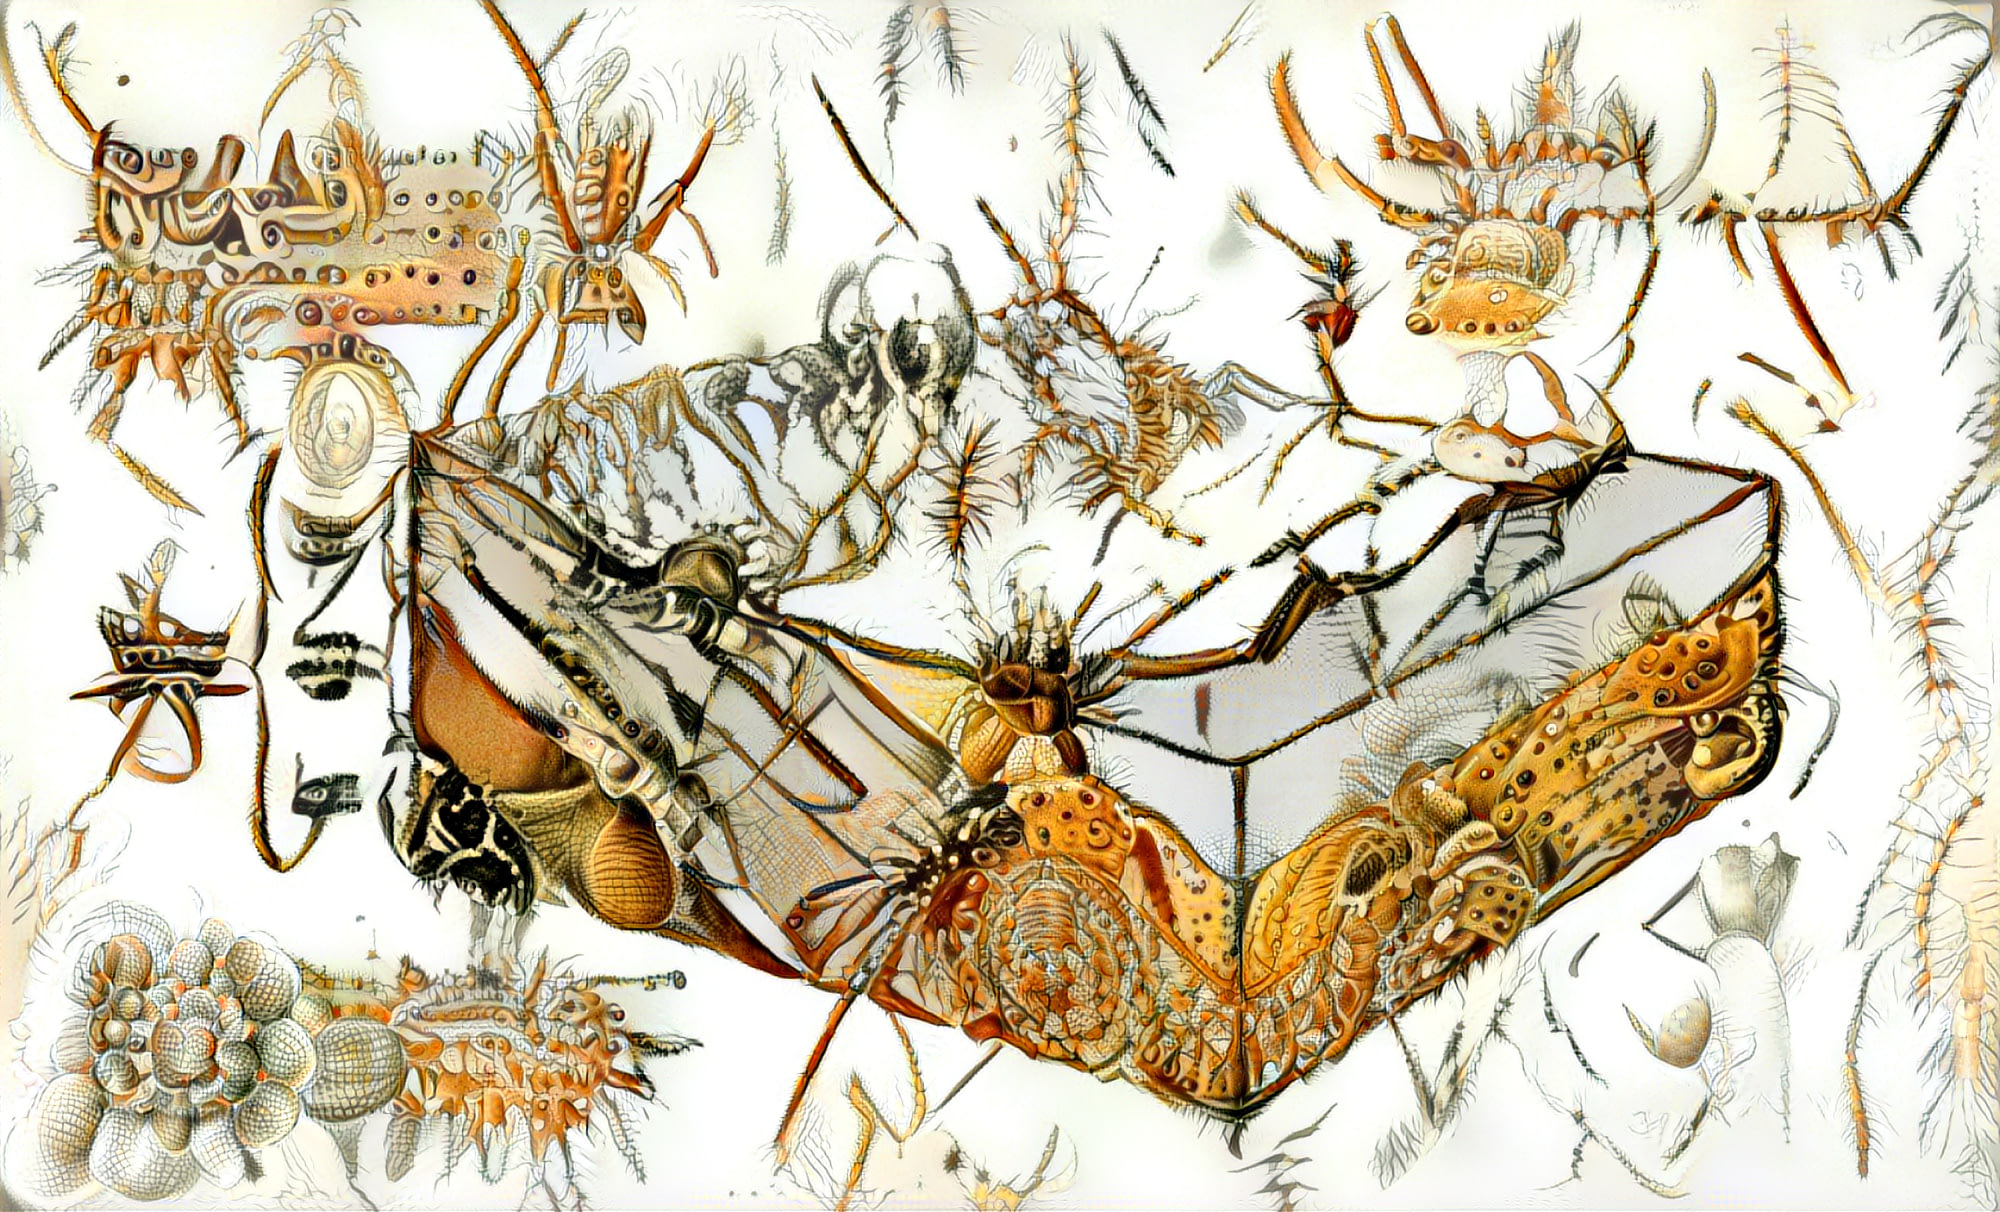
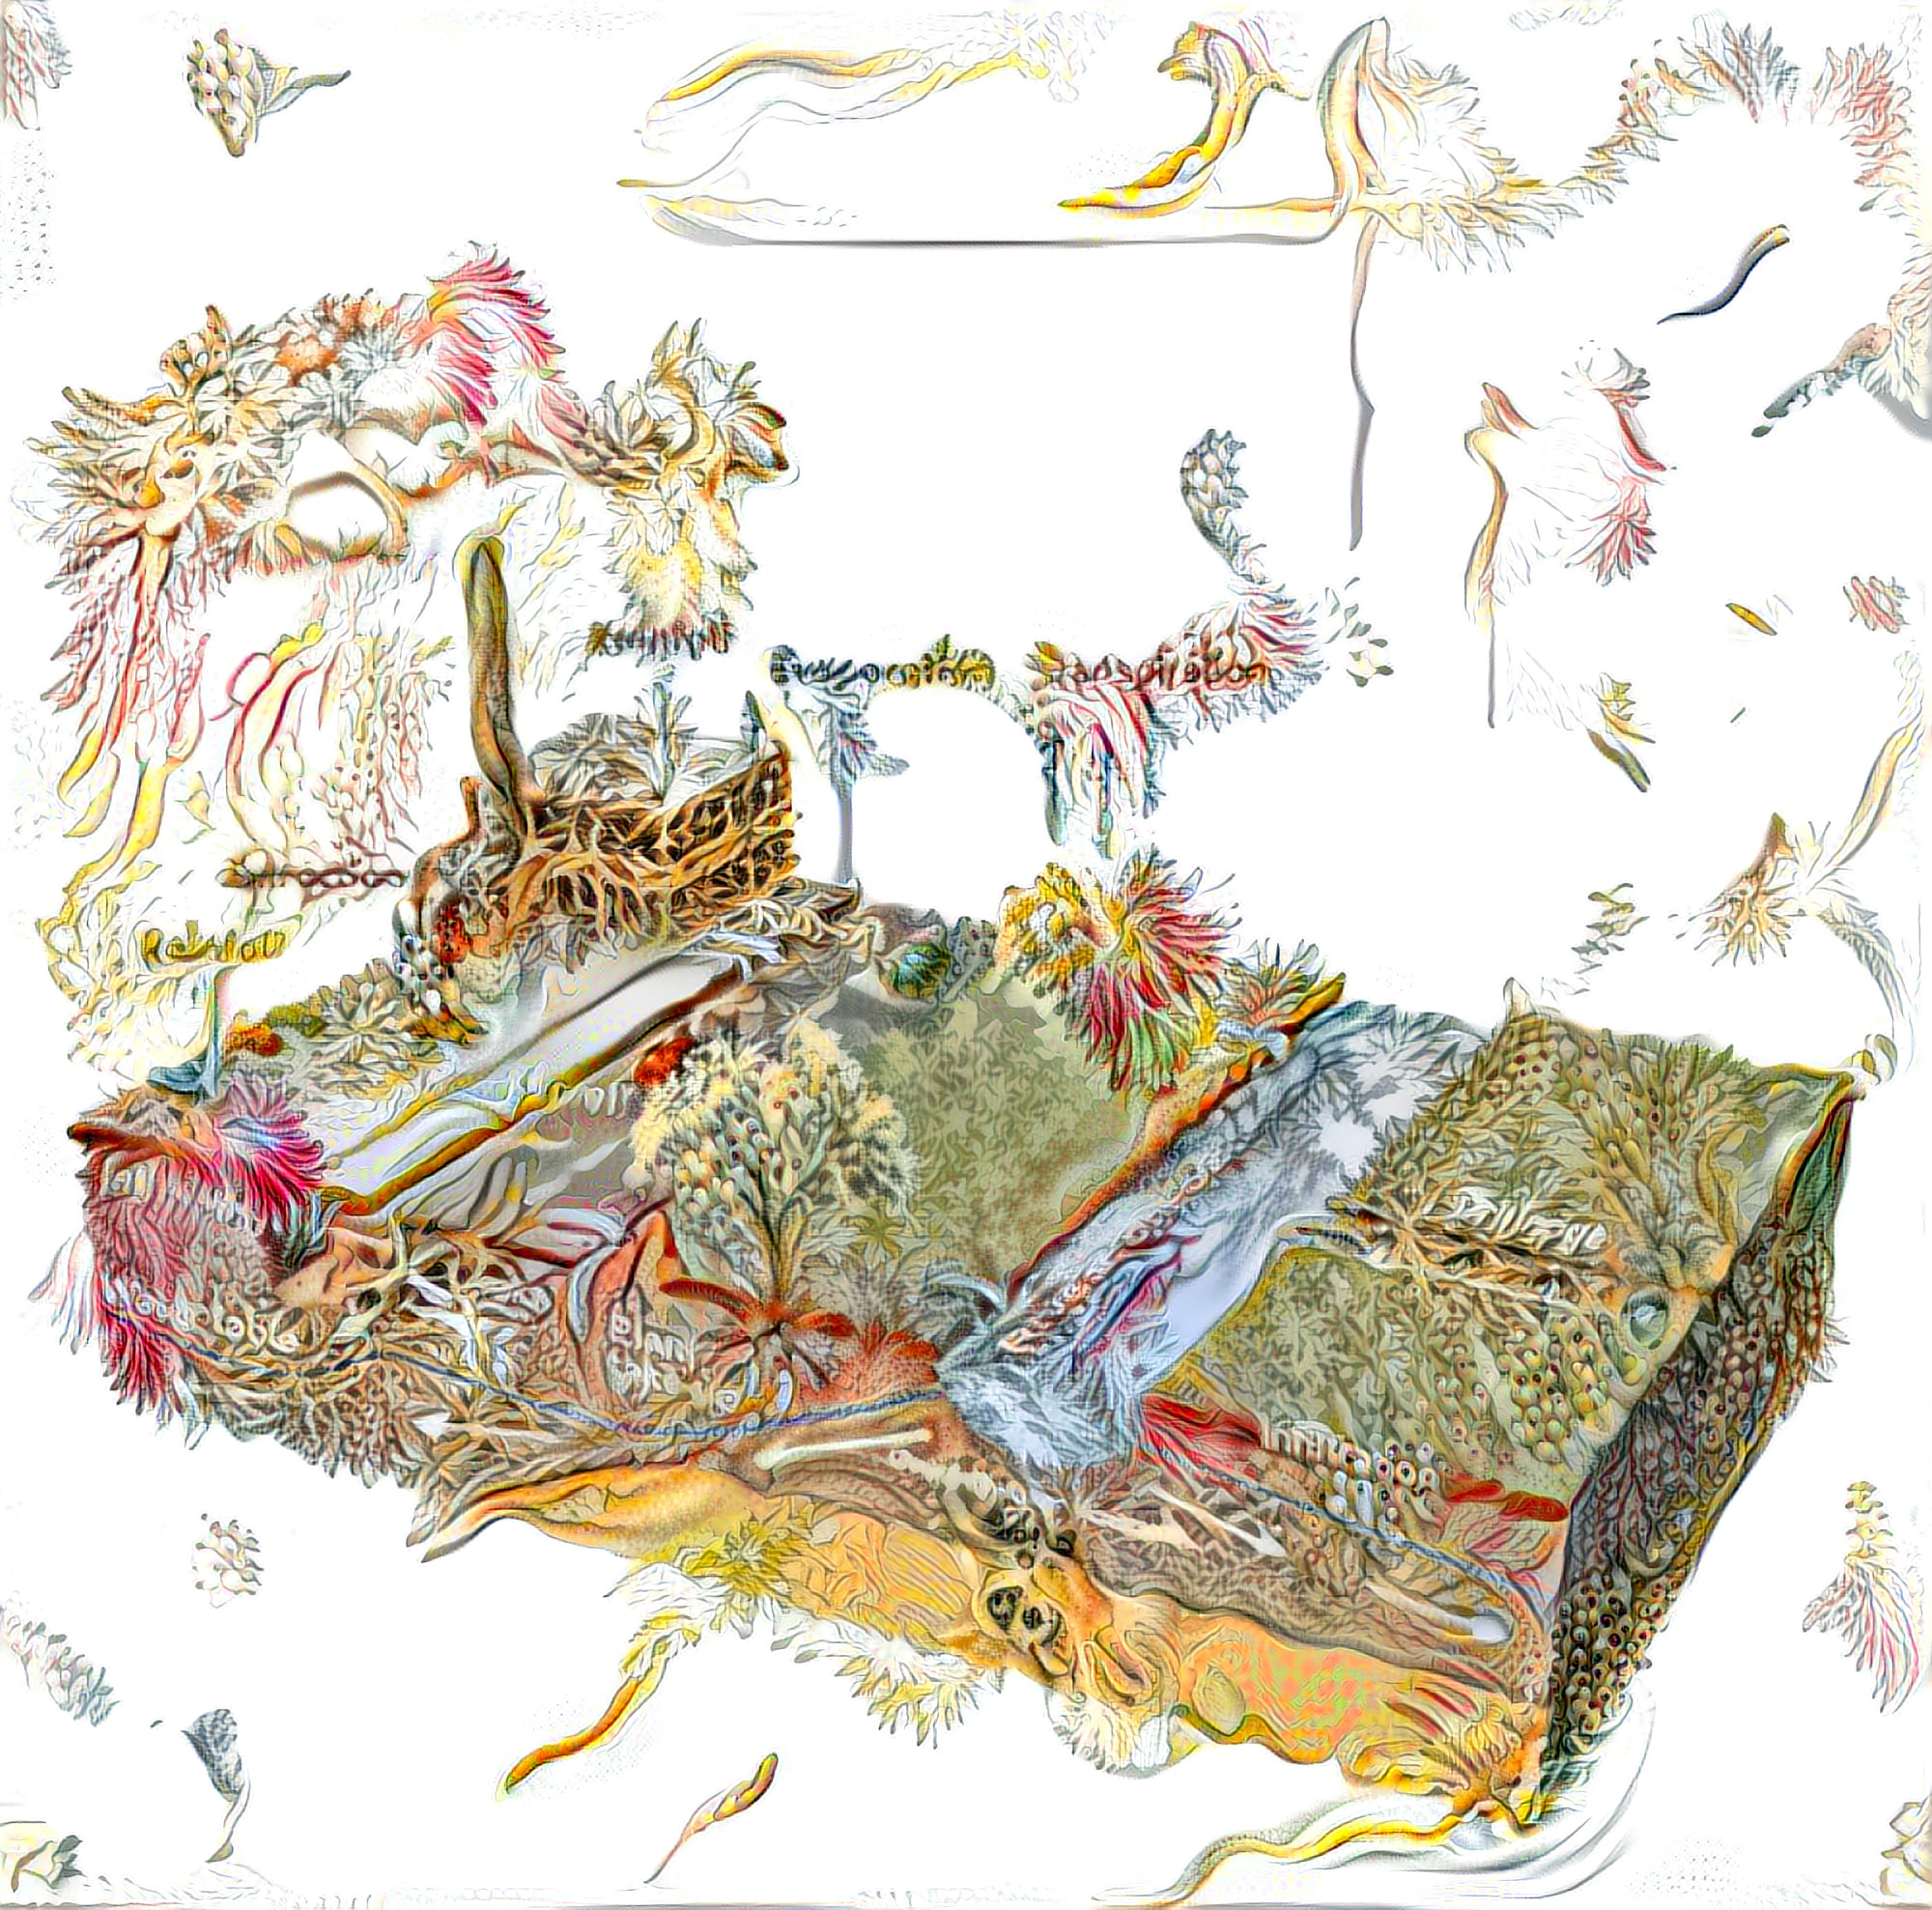
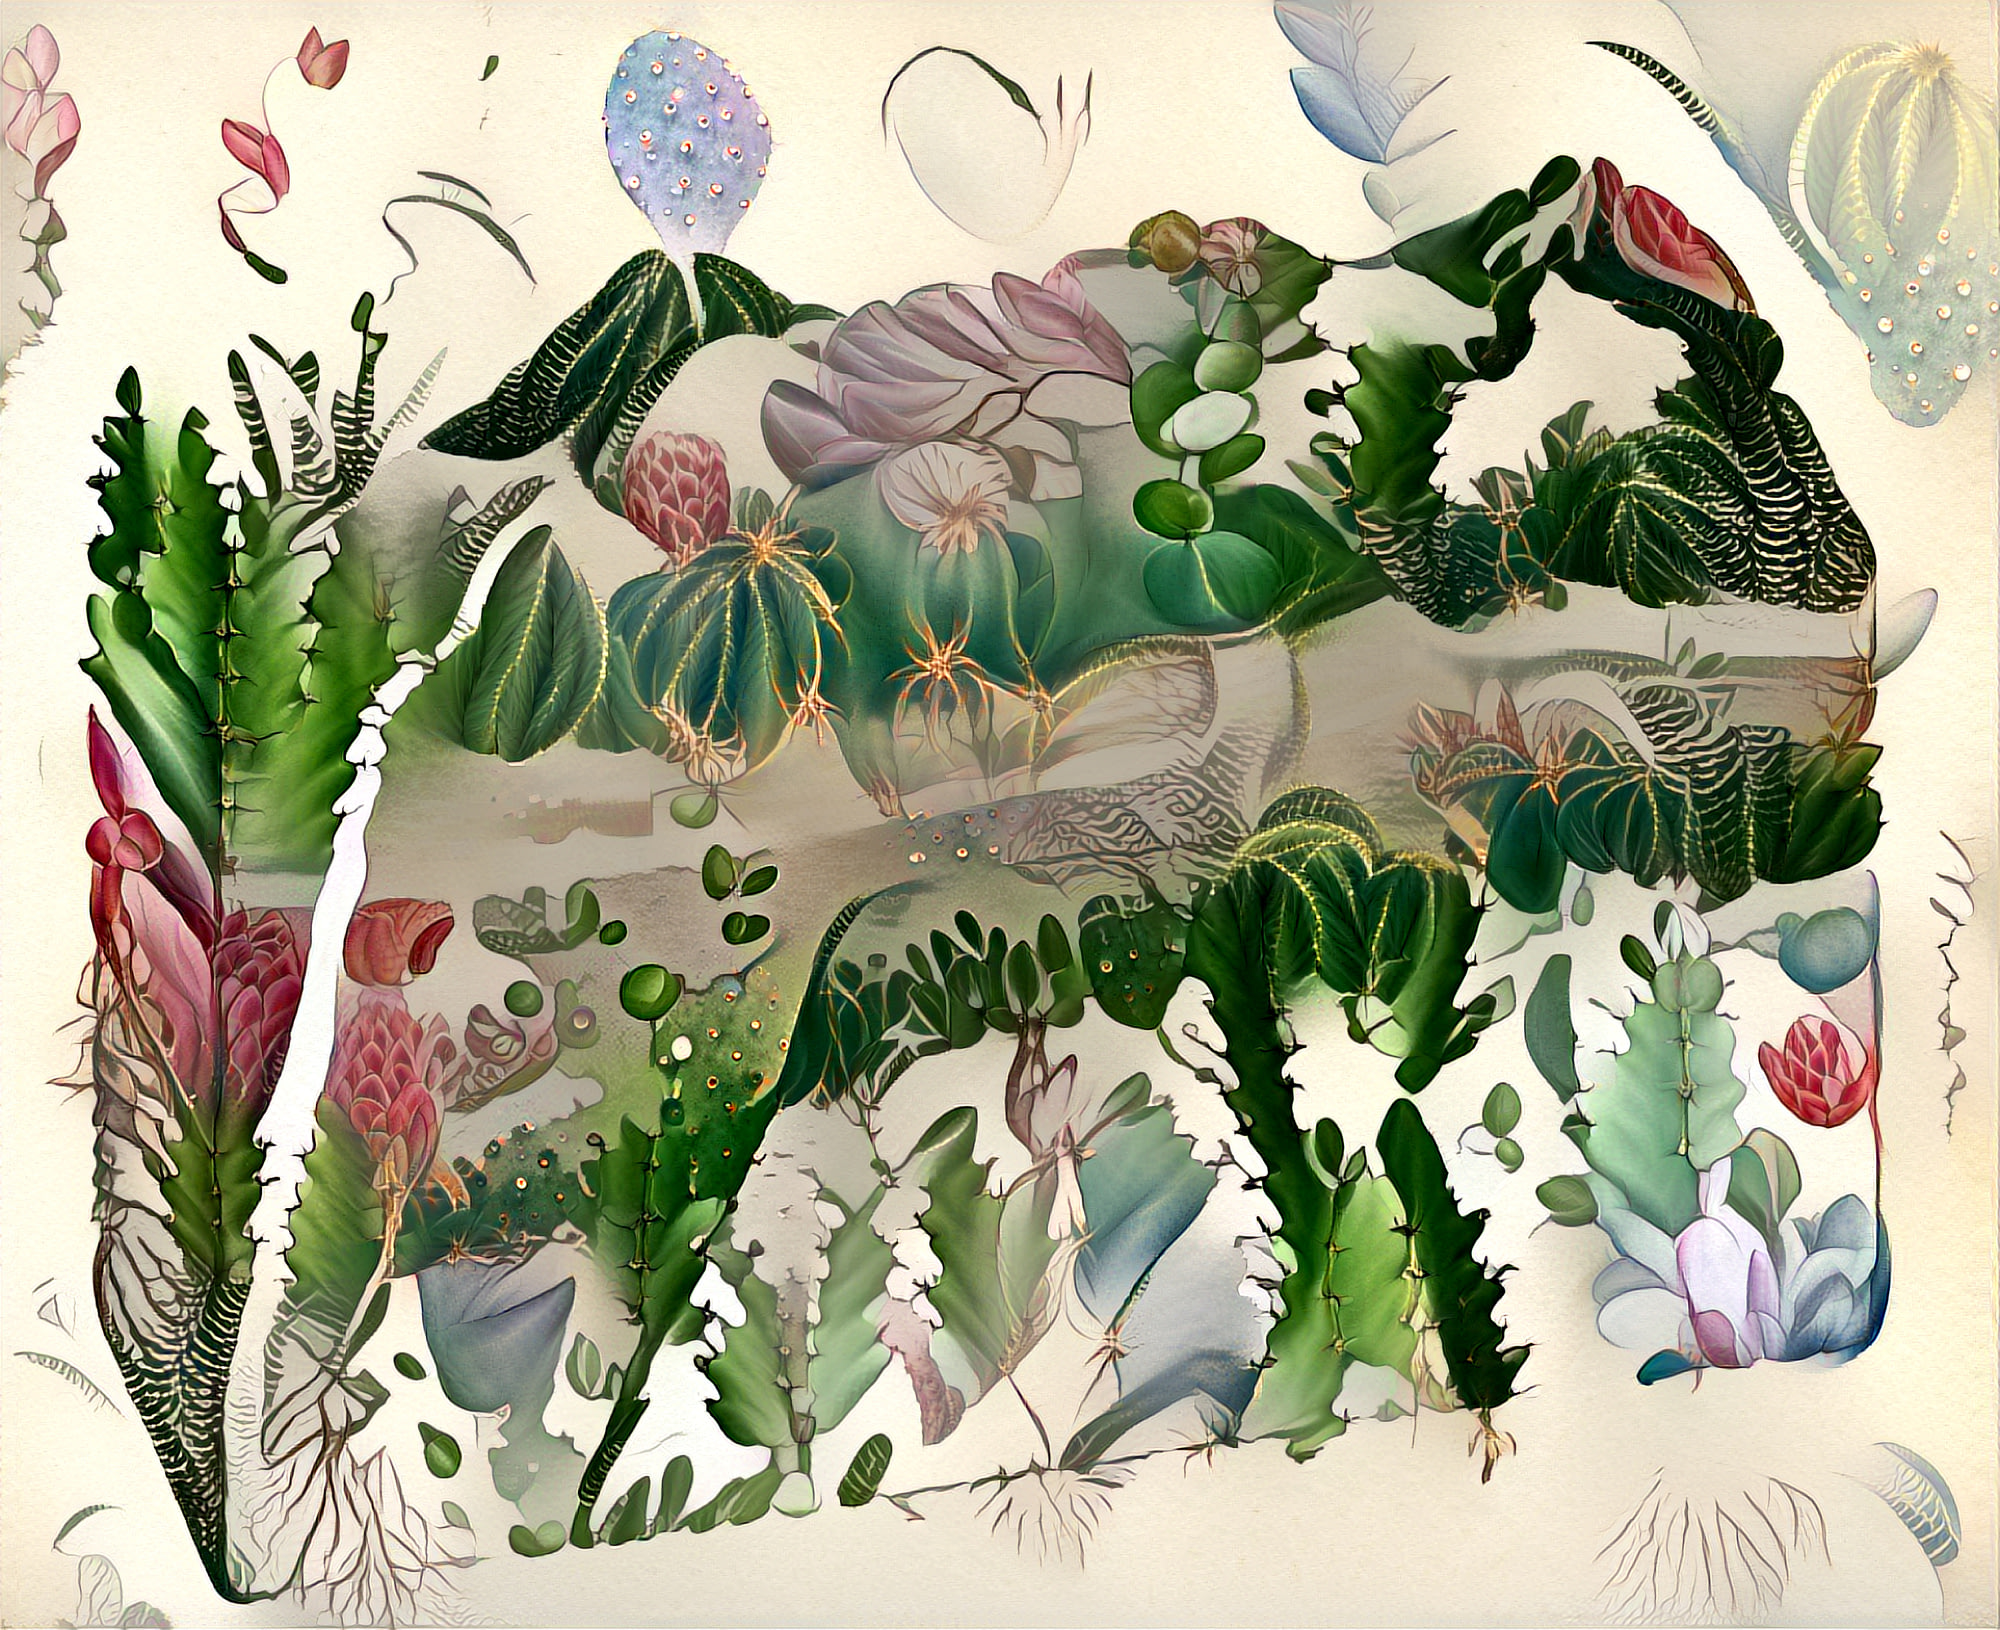
Because of the non-deterministic nature of neural style transfer, the results differ a little bit every time you run the script. Combining a dozen outputs creates an interesting effect. It’s not breathing nor movement but some kind of uncertainty that normally only comes when you freeze living matter in time. Like a collection of portrait photographs, neither of which is truly you.
How to do it yourself
I’ve been using jcjohnsons neural-style code for the transfer. The CPU mode is painfully slow, so you’d need a GPU to produce images fast enough to experiment and learn. The limiting factor of the GPU is the memory - with a 4gb GPU memory, you’d end up producing images up to 200 pixel wide. Way too small. Get yourself a Google Compute Engine instance, or one from AWS or Microsoft Azure. They offer up to 300$ (in case of GCE) in funds when you register so you may end up not spending any money on your experimentations. Add a 8+ GB GPU and you are good to go.
The secret to good results is to produce images in the same resolution in which the neural net you are using is most responsive. In the case of VGG19 that neural style uses, the optimal resolution lies between 256 x 256 and 512 x 512 pixels. Choose a larger amount to preserve the structure of your content file, a smaller amount to let your style appear bigger.
After you have created your low resolution image, style transfer can be used to upscale it, by using your output image to initialize the transfer through the -init parameter. I am doing the upscaling in steps, each step tripling the resolution. This bash script creates a final image with 1400 pixels width, which is close to the limit of a GPU with 8 GB. In case of non-quadratic image proportions, you can go quite a bit higher before out of memory errors stop you from having fun.
#!/bin/bash
# Let's imagine that you call this file hqstyle.sh
# Make it executable and the run it like this:
# ./hqstyle.sh contentimage.jpg styleimage.png
# afterwards look for the results in contentimage.jpgstyleimage.png.png
# and come back to http://rybakov.com for more
#
echo ""
echo "==== UPSCALED STYLE TRANSFER ===="

    echo "Processing $1 file with $2 style.."
    th neural_style.lua \
            -style_image style/$2 \
            -content_image content/$1 \
            -image_size 512 \
            -gpu 0 -print_iter 1 -save_iter 50 \
            -normalize_gradients \
            -num_iterations 400 -backend cudnn \
            -style_scale 1 -content_weight 100 -style_weight 1500 \
            -pooling max -tv_weight 0 \
            -output_image out.png \
            -seed 123

    th neural_style.lua \
            -style_image style/$2 \
            -content_image content/$1 \
            -image_size 710 \
            -gpu 0 -print_iter 1 -save_iter 50 \
            -normalize_gradients \
            -num_iterations 150 -backend cudnn \
            -style_scale 1 -content_weight 100 -style_weight 1500 \
            -pooling max -tv_weight 0 \
            -init image -init_image out.png -seed 123

    th neural_style.lua \
            -style_image style/$2 \
            -content_image content/$1 \
            -image_size 1000 \
            -gpu 0 -print_iter 1 -save_iter 50 \
            -normalize_gradients \
            -num_iterations 150 -backend cudnn \
            -style_scale 1 -content_weight 100 -style_weight 1500 \
            -pooling max -tv_weight 0 \
            -init image -init_image out.png -seed 123

    th neural_style.lua \
            -style_image style/$2 \
            -content_image content/$1 \
            -image_size 1400 \
            -gpu 0 -print_iter 1 -save_iter 250 \
            -normalize_gradients \
            -num_iterations 150 -backend cudnn \
            -style_scale 1 -content_weight 100 -style_weight 1500 \
            -pooling max -tv_weight 0 \
            -output_image $1$2.png \
            -init image -init_image out.png -seed 123
The pooling option has a small but noticeable effect on the global contrast of the image. -pooling avg creates the same overall contrast in every part, while -pooling max results in a richer variety of artifacts over the whole image. Average pooling has its use if you plan to create a larger resolution images by tiling them and using style transfer on each tile. See Neural-Tile for an example.
In the end, it all boils down to your selection of content and style images. Make sure to select images with similar dynamic range, similar contrast and colors for best results. Basically, the more alike the histograms of your images are, the better the results.
CNNMRF produces results similar to neural style, but gives more weight to the structure of the content file. Best used when style and content image depict a similar subject, like two portraits or two similar architectural shots. CNNMRF output files can also be upscaled by the neural style script.